If you've got a leaky faucet, you're not alone. Many homeowners face this common issue, but you don't have to call a plumber just yet. With a bit of patience and the right tools, you can tackle the problem yourself. First, you'll need to identify where the leak is coming from. Once you know that, you're well on your way to a simple fix. Let's explore the steps you need to take.
Identifying the Source of the Leak
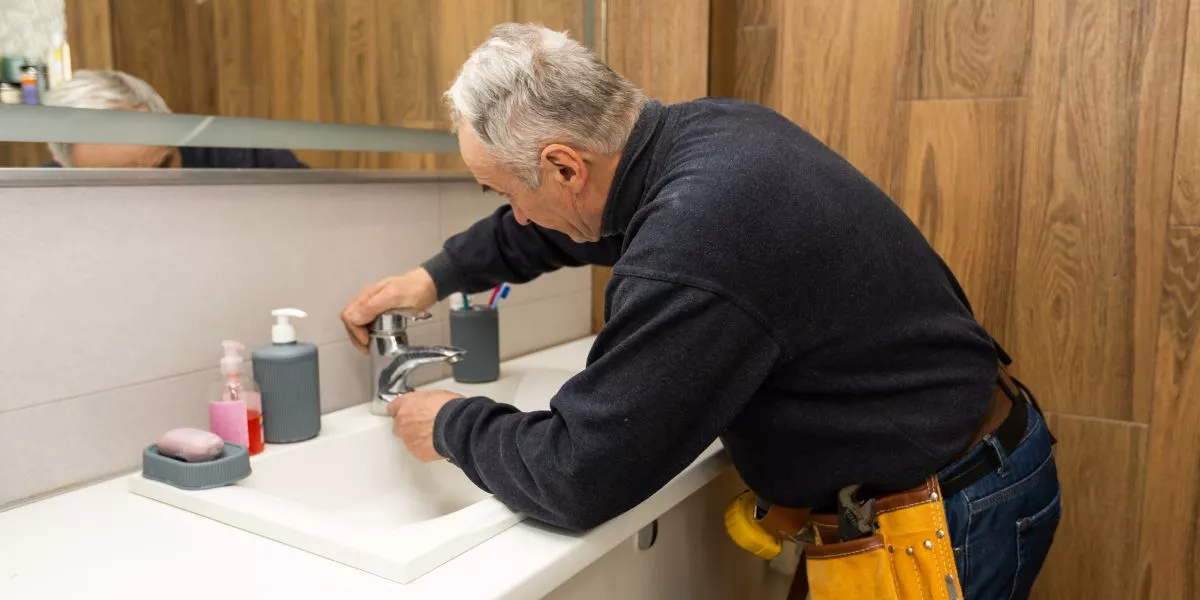
Have you ever wondered where that persistent drip in your faucet is coming from? Identifying the source of the leak is the first step to fixing it.
Start by checking the faucet handle. If it's loose, tightening it might solve the problem.
Next, inspect the faucet spout. Water pooling around it could indicate a worn-out washer or O-ring.
Don't forget to examine the base of the faucet; leaks here often result from loose connections or damaged seals.
If you notice water running down the sides, it might be a sign of a corroded valve or a cracked body.
Gathering the Necessary Tools and Supplies
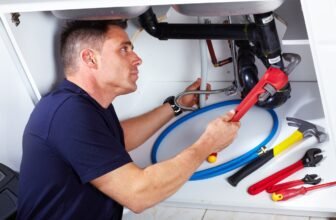
Once you've pinpointed the source of the leak, it's time to gather the necessary tools and supplies for the repair.
Start with a wrench or pliers, which you'll use to loosen and tighten fittings. You'll also need a screwdriver, preferably a flathead and Phillips, to remove any screws.
Don't forget to grab replacement parts—like O-rings or washers—specific to your faucet model. A towel or rag will come in handy for cleaning up any water spills.
Lastly, having plumber's grease can help ensure a smooth operation when reassembling your faucet.
With everything ready, you'll set yourself up for a successful repair without needing to call a plumber. Now, you're one step closer to fixing that leak!
Step-by-Step Repair Process
To tackle the leaky faucet effectively, follow this straightforward step-by-step repair process.
First, turn off the water supply under the sink. Then, plug the drain to prevent losing small parts.
Next, remove the faucet handle by loosening the screw, often hidden under a decorative cap. Carefully lift the handle off.
Now, take out the packing nut using a wrench, and you'll see the cartridge or washer. Inspect these components for wear or damage and replace them if necessary.
Reassemble the faucet by reversing the steps: reinsert the cartridge, tighten the packing nut, and put the handle back on.
Finally, turn the water supply back on and test your repair. You're done!
Preventing Future Leaks
While fixing a leaky faucet is important, preventing future leaks can save you time and money. Start by regularly checking your faucets for wear and tear.
Tighten loose fittings and replace worn-out washers or O-rings before they lead to leaks. Additionally, avoid overtightening knobs, as this can damage components.
Keep an eye on water pressure; if it's too high, consider installing a pressure regulator. Also, clean aerators and showerheads to prevent buildup that can cause leaks.
Lastly, maintain a consistent temperature in your home to minimize thermal expansion and contraction in pipes. By taking these proactive steps, you'll extend the life of your faucets and keep leaks at bay.
Conclusion
Fixing a leaky faucet on your own can save you time and money. By identifying the source of the leak, gathering the right tools, and following the step-by-step process, you can tackle this DIY project with confidence. Remember to inspect and maintain your faucet regularly to prevent future leaks. With a little effort, you'll enjoy a fully functioning faucet and the satisfaction of having done it yourself. Now, go ahead and enjoy your leak-free fixture!